 Save
Save The windows in my apartment always fog up when I make broth from scraps, creating this comforting haze that smells like pure nourishment. I started collecting vegetable trimmings in a freezer bag years ago when I was trying to stretch my grocery budget during grad school. What began as a thrifty habit has become one of my most cherished kitchen rituals, transforming what most people discard into liquid gold that elevates every dish it touches. There's something profoundly satisfying about creating something so flavorful from what would otherwise be thrown away.
Last winter during that terrible ice storm, I spent an afternoon making this broth while the power flickered on and off. The gentle simmer on my gas stove provided both warmth and comfort in the dimly lit kitchen. My neighbor dropped by for shelter, following her nose to my door, and we ended up sharing mugs of the hot broth while wrapped in blankets, turning what could have been a miserable day into a memory I now cherish.
Ingredients
- Vegetable Scraps: I save carrot peels, onion skins, celery ends, mushroom stems, and herb stems in a designated freezer bag until I have about 4 cups worth, which happens quicker than you might think.
- Bay Leaf: Just one leaf infuses the entire batch with a subtle earthiness that creates a perfect foundation for any soup or stew.
- Peppercorns: These little flavor bombs slowly release their warmth during simmering, creating those spicy undertones that make homemade broth so distinctive.
- Cold Water: Always start with cold water to slowly extract flavors, rather than shocking the vegetables with hot water which can trap flavors inside.
Tired of Takeout? 🥡
Get 10 meals you can make faster than delivery arrives. Seriously.
One email. No spam. Unsubscribe anytime.
Instructions
- Gather Your Scraps:
- Collect clean, fresh vegetable trimmings, avoiding brassicas like broccoli or cabbage which can make your broth bitter. I learned through trial and error that potato peels can make the broth cloudy, so I skip those too.
- Combine Everything:
- Dump your colorful collection of scraps into a large pot along with the bay leaf, peppercorns, garlic, and herbs. The pot should look like a mosaic of colors and textures.
- Add Water & Bring to Boil:
- Pour in cold water until everything is submerged, then bring it to a boil over medium-high heat. The kitchen will start filling with that unmistakable aroma of vegetables releasing their essence.
- Simmer Gently:
- Reduce to a gentle simmer and let it bubble away uncovered for about an hour. I like to occasionally skim off any foam that rises to the top for a clearer broth.
- Strain With Care:
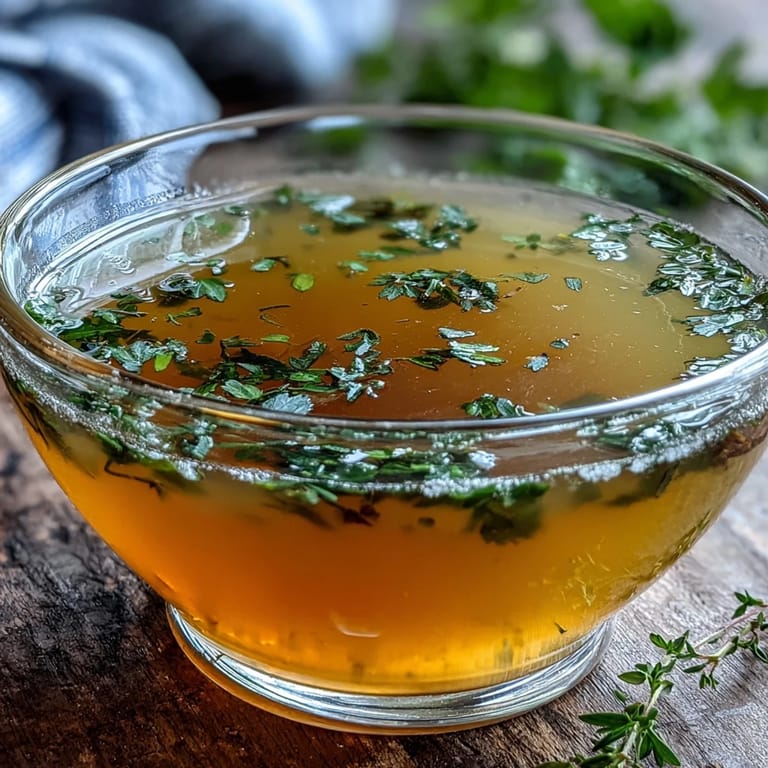
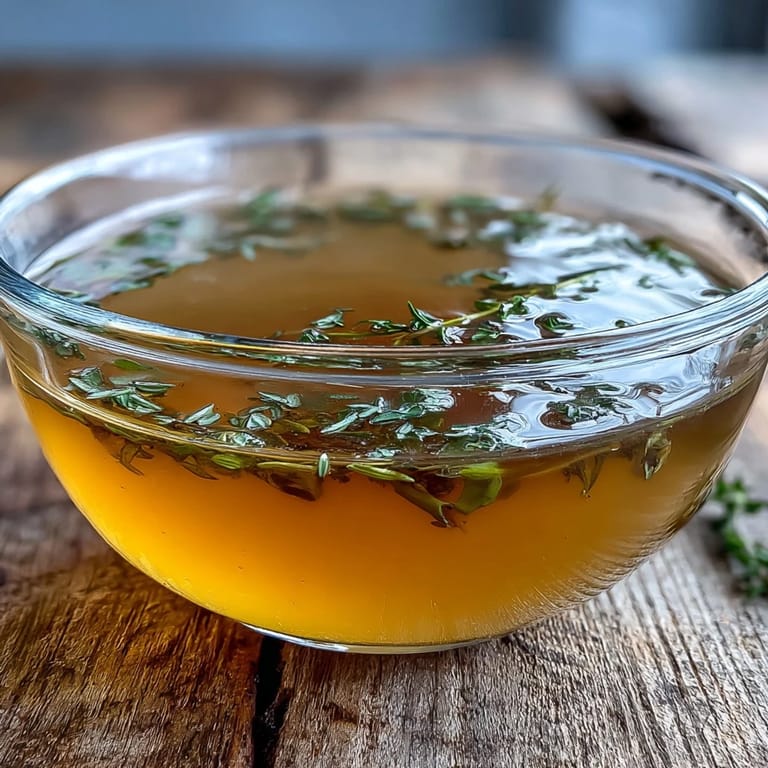
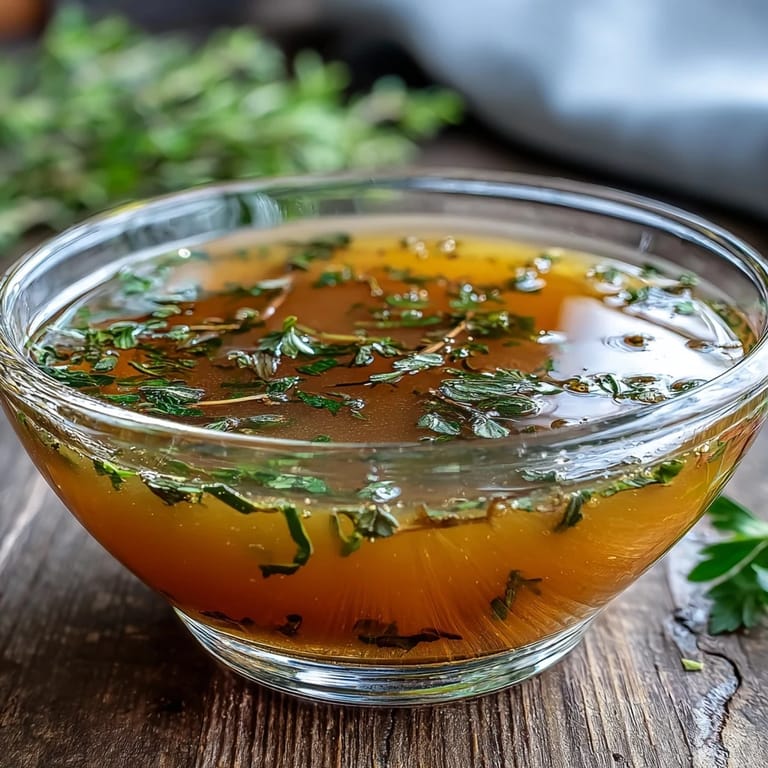
- Pour the mixture through a fine-mesh sieve, watching as the amber liquid separates from the now-spent vegetables. Press gently with a spoon to extract every last drop of flavor.
 Save
Save My daughter was going through a picky eating phase at five years old, refusing most vegetables with theatrical disgust. One evening, I served her favorite alphabet pasta floating in this golden broth, and she slurped it up with such enthusiasm that it became our special mother-daughter cooking project. Now at twelve, she has her own collection bag in the freezer and reminds me when we have enough scraps for broth day.
Flavor Boosters
For an umami explosion, toss in a small piece of dried kombu seaweed or a handful of dried mushrooms during the last 15 minutes of simmering. These ingredients contribute a savory depth that transforms a good broth into something that makes people ask for your secret.
Storage Solutions
The broth keeps beautifully in the refrigerator for about five days, developing even more character as it sits. For longer storage, I pour cooled broth into freezer-safe containers, leaving an inch of headspace for expansion, where it maintains its quality for up to three months.
Creative Uses Beyond Soup
This vegetable broth elevates ordinary ingredients to extraordinary meals in ways commercial products never could. I substitute it for water when cooking grains like rice or quinoa, creating an instant flavor foundation with zero extra effort.
- Use it to deglaze pans after sautéing vegetables or proteins, creating an instant light sauce.
- Warm a mugful and drink it straight when you feel a cold coming on, the steam opening sinuses and the nutrients offering comfort.
- Freeze leftover broth in a popsicle mold with herbs for flavor-packed cooking cubes that can be tossed into any sautéed dish.
 Save
Save Making vegetable broth from scraps connects us to a long tradition of resourceful cooking that spans cultures and generations. Each batch tells the story of meals past while promising delicious meals to come.
Recipe FAQs
- → What vegetables should I avoid using?
Skip potato peels, brassicas (broccoli, cauliflower, cabbage), and overly starchy or sweet vegetables. These can make your broth bitter or cloudy.
- → How long can I store this broth?
Keep refrigerated in airtight containers for up to 5 days, or freeze for up to 3 months for longer storage.
- → Can I enhance the flavor?
Roast the vegetable scraps at 200°C (400°F) for 20 minutes before simmering, or add kombu seaweed and dried mushrooms for extra depth.
- → Should I add salt?
Add salt sparingly or omit it entirely if planning to use the broth in other dishes, allowing you to season the final dish instead.
- → What can I use this broth for?
Use as a base for soups and stews, cook grains like rice or quinoa, deglaze pans, or simply warm and enjoy as a soothing drink.